I didn't pay much attention to photo location data until a client asked me a simple question: "Can you prove these photos were taken at our business location?"
At first, I thought sending the original pictures would be enough. It wasn't. The photos had been edited, shared through messaging apps, and uploaded multiple times. Somewhere along the way, the GPS information disappeared. That small detail created a surprising amount of extra work.
Since then, I've made geotagging part of my workflow whenever I manage photos for local businesses, real estate listings, travel blogs, or Google Business Profile updates. The good news is that you don't need expensive software or advanced photography skills. You can geotag photos online in just a few minutes. This guide walks you through everything I've learned from actually doing it—not just the theory.
What Does It Mean to Geotag a Photo?
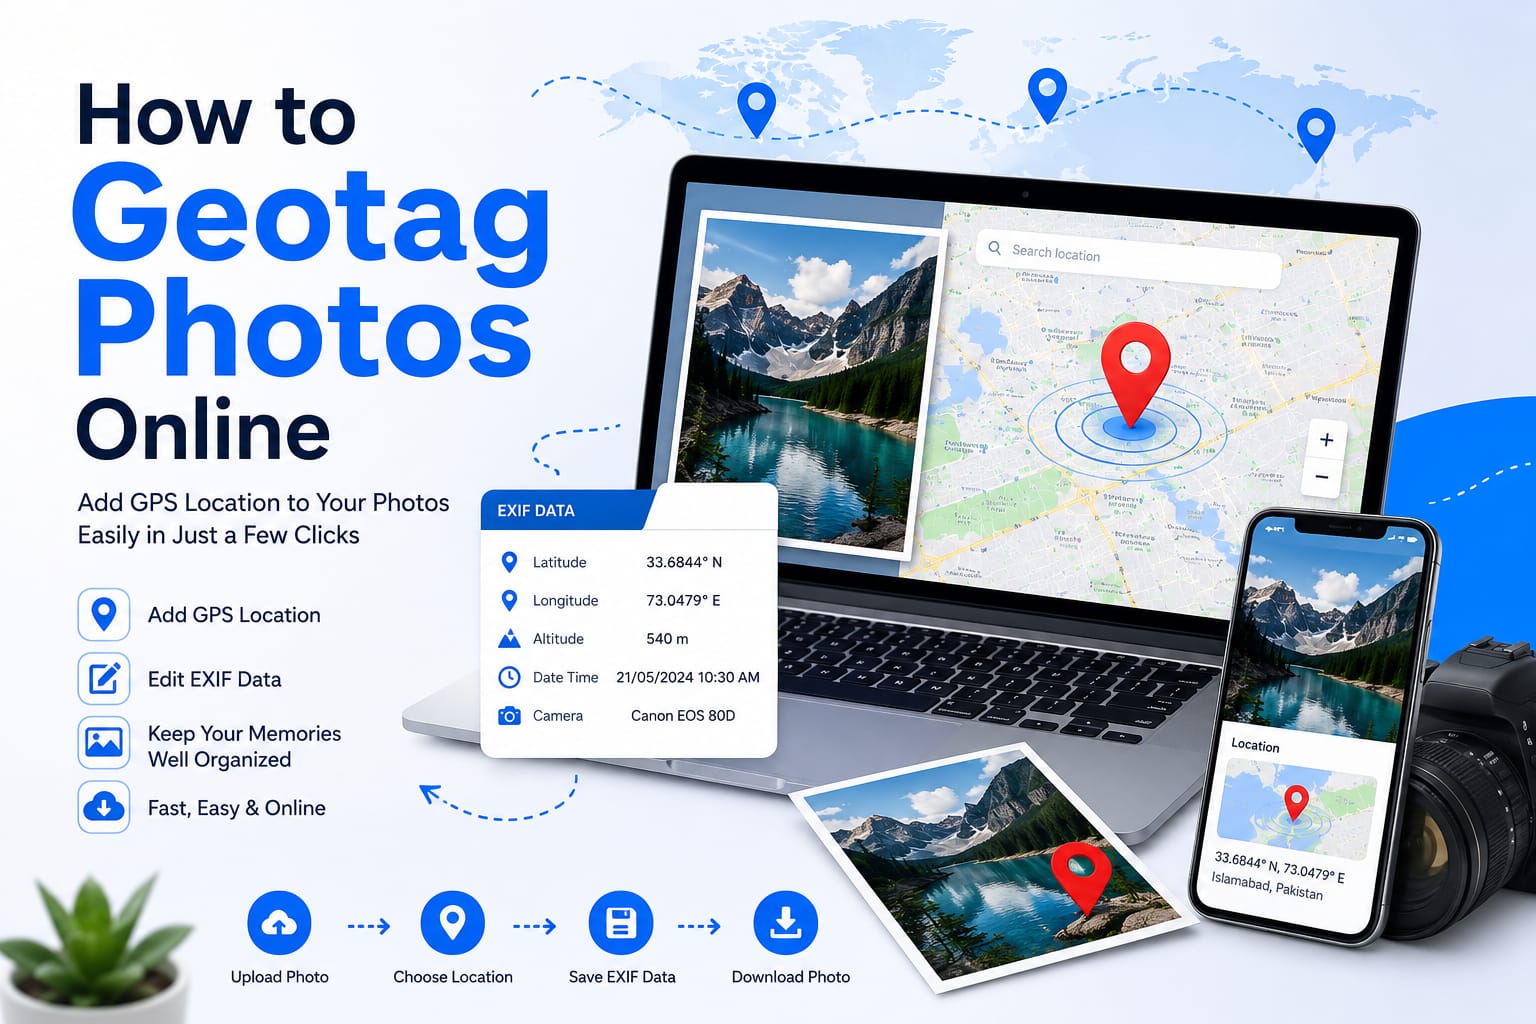
Geotagging simply means adding location information to a photo. This location is usually stored inside the image's EXIF metadata and can include:
- Latitude & Longitude – The precise GPS coordinates.
- GPS Altitude – Height above sea level.
- Date and Time – When the photo was taken.
- Camera Information & Device Model – The equipment used.
The location doesn't appear on the picture itself. Instead, it's stored inside the file, similar to hidden information attached to the image. Many smartphones automatically record GPS data when location services are enabled. But if location was turned off—or if the photo lost its metadata—you can add it later online.
Why I Started Geotagging Photos
The first time I intentionally geotagged images was while helping a small local business update its online presence. They wanted consistent photos of their office, products, and storefront. The images looked great, but many had no GPS information because they had been edited before uploading.
Adding accurate location data made organizing those images much easier. Instead of wondering where each picture came from, every photo carried its own location details. Since then, I've used geotagging for several different situations, including:
- Business location photos
- Property listings
- Construction progress updates
- Travel photography and hiking trips
- Event documentation and personal photo organization
It's one of those small tasks that saves a lot of confusion later.
Can You Geotag Photos Online?
Yes. You don't need Photoshop or complicated desktop software anymore. Several online tools let you upload an image, choose a location on a map, and save the updated file with GPS coordinates. This works directly in your browser, making it convenient whether you're using Windows, macOS, Linux, or even some tablets.
When Online Geotagging Makes Sense
I've found online tools especially useful when:
- Your phone didn't save location information.
- Someone emailed you images without GPS data.
- Photos were exported from editing software.
- You want to organize travel pictures.
- You need consistent location information for a project.
Instead of installing another application, opening a browser is often faster.
Quick Tip
Always finish your image editing (cropping, filters, etc.) before geotagging. Some software removes metadata during export, so geotagging should be your final step to ensure the location data stays intact.
Step-by-Step: How to Geotag Photos Online
Here's the workflow I usually follow. It’s simple, fast, and works for any JPEG image.
Step 1: Open an Online Geotagging Tool
Choose a reliable online photo geotagging website. Look for one that supports JPEG images, EXIF editing, interactive maps, GPS coordinate editing, and secure uploads. A clean interface makes the whole process much easier.
Step 2: Upload Your Image
Select the photo from your device. Most tools process the image within a few seconds. If the photo already contains GPS information, you'll usually see it immediately. If not, you'll start with an empty location.
Step 3: Find the Correct Location
This is the part where accuracy matters. Instead of guessing, zoom into the exact location where the picture was taken. Many online editors include search by address, city, business name, or an interactive map. Drop the map pin as close as possible to the real location.
Step 4: Save the GPS Information
Once you're satisfied with the location, apply the changes. The website updates the EXIF metadata while leaving the actual image untouched. The picture looks exactly the same, but now it contains location information.
Step 5: Download the Updated Photo
Download the edited version and keep it as your master copy. I usually create a separate folder called "Geotagged Photos" so I never accidentally upload the original version without GPS data.
Devices I've Tested
Online geotagging generally works well with photos from:
- Android phones and iPhones
- DSLR and mirrorless cameras
- Drones and action cameras
As long as the image format is supported, the process is usually straightforward.
Real Situations Where Geotagging Helps
Local Business Photos
Businesses often upload photos of offices, stores, restaurants, clinics, salons, and warehouses. Keeping those images properly organized makes future updates easier.
Real Estate Listings
Property photos quickly become difficult to manage. If you're photographing multiple houses in one day, GPS information helps identify which property each image belongs to. I've seen photographers accidentally mix photos from different listings because every modern house looked similar. Geotagging avoids that confusion.
Travel Memories
This is probably my favorite use. Months later, it's surprisingly difficult to remember exactly where a photo was taken. Geotagged images help recreate travel routes without relying entirely on memory.
Construction Projects
Builders and contractors often document progress over several months. Location-tagged images make project records much easier to organize.
Common Mistakes I Made
Here are a few things I learned the hard way.
Guessing the Location
Early on, I sometimes dropped the map pin "close enough." Later I realized even small mistakes could place the image on the wrong street. Take an extra minute to zoom in.
Forgetting the Original File
Always keep the original image. If you accidentally use the wrong location, you'll want the untouched version available.
Editing After Geotagging
Some editing software removes metadata during export. I now do my image editing first. Geotagging is the final step.
Compressing Images Through Messaging Apps
Apps like WhatsApp often strip EXIF metadata when sending photos normally. If preserving GPS data matters, share the image as a document instead of a compressed photo whenever possible.
How to Check Whether the GPS Data Was Saved
After downloading the updated image, verify the location. You can:
- Open the image properties on your computer.
- Use an online EXIF viewer.
- Check the GPS coordinates.
- Open the location in Google Maps.
I always double-check before using important photos. It only takes a few seconds.
Is Geotagging Safe?
Generally, yes—but only when you're intentionally adding accurate information and using trusted tools. However, remember that GPS coordinates reveal where a photo was taken. For personal pictures taken at home, you may actually want to remove location information before sharing publicly. For business photos, adding location is usually intentional. For private family photos, think carefully before leaving GPS data attached.
Privacy Note
Our online geotagging tool processes your images entirely within your browser. No files are ever uploaded to a server, ensuring your location data stays completely private.
Tips That Save Time
After geotagging dozens of image collections, these habits have helped me the most:
- Finish editing before adding GPS data.
- Keep original backups.
- Double-check map pins.
- Name files clearly.
- Organize folders by project.
- Verify metadata before uploading.
These simple habits prevent mistakes later.
Frequently Asked Questions
Can I geotag an existing photo?
Yes. Even if the image originally had no GPS data, you can add it later using an online EXIF editor.
Does geotagging change image quality?
No. It only updates metadata. The picture itself stays the same.
Can I remove GPS information later?
Absolutely. Many EXIF editing tools allow you to delete location data if needed.
Do smartphones automatically geotag photos?
Many Android phones and iPhones do when location services are enabled. If location access was turned off while taking the picture, you'll need to add it manually later.
Is internet required?
For online geotagging tools, yes. Desktop software can work offline, but browser-based tools obviously require an internet connection.
Final Thoughts
Geotagging seemed like a tiny detail when I first came across it. I honestly thought it was something only professional photographers cared about. After using it for business projects, travel albums, and property photos, I realized it's one of those features you only appreciate after you need it.
Adding GPS information takes just a minute, but it can save hours of confusion later—especially when you're sorting hundreds of images or trying to remember where a photo was taken months ago. If you're already uploading photos for work, travel, documentation, or personal organization, spending a little extra time to geotag them is well worth the effort. Once it becomes part of your routine, you'll probably wonder how you managed without it.